
How to hang artwork
Simple & Snappy Guide to Gallery Height:
Let’s get those pieces up at the perfect “gallery height”—this means the center of your artwork should be around 57 to 60 inches from the floor, which is basically eye level. Ready? Let’s jump in!
Tools You’ll Need
Before you get started, make sure you have these essentials on hand:
Measuring Tape
Level - You can use your iPhone, but I’m old school and prefer a tangible level.
Pencil
Hammer
Picture Hanging Hooks or Nails
Painters Tape (optional)
Step Stool (optional)
Instructions
Measure & Mark
Measure 57-60 inches up from the floor on the wall (this is the center height). Use painter's tape to mark it with a pencil so you don’t damage the wall, or just make a light pencil mark.
Locate the Top of Your Artwork
Measure the height of your artwork and divide it by two to find the center. From that center point, measure up half the height and mark that spot. This is where the top edge will hang.Determine Where to Nail or Hook
Depending on the hardware on the back of your piece (D-rings, wire, etc.), you'll need to adjust your measurements slightly so that the top of your artwork hangs perfectly at the center line.
Install Your Hanging Hardware
Nail in your hooks or nails at the marks you've made. If using wire, be sure to install at a spot that can handle the weight.
Hang it Up!
Gently place your artwork onto the hooks or nails. Take a step back and admire your work.
Level It Out
Use your level to check that your artwork is straight! If not, a little nudging will solve that.
Voilà!
There you have it—artwork hung at gallery height and ready to dazzle. Now step back and witness your walls transform into your very own curated exhibit. Remember, it’s all about the joy art brings to your space, so hang with confidence and a cheeky grin. Your walls will be smiling in no time!
Hanging Artwork over furniture
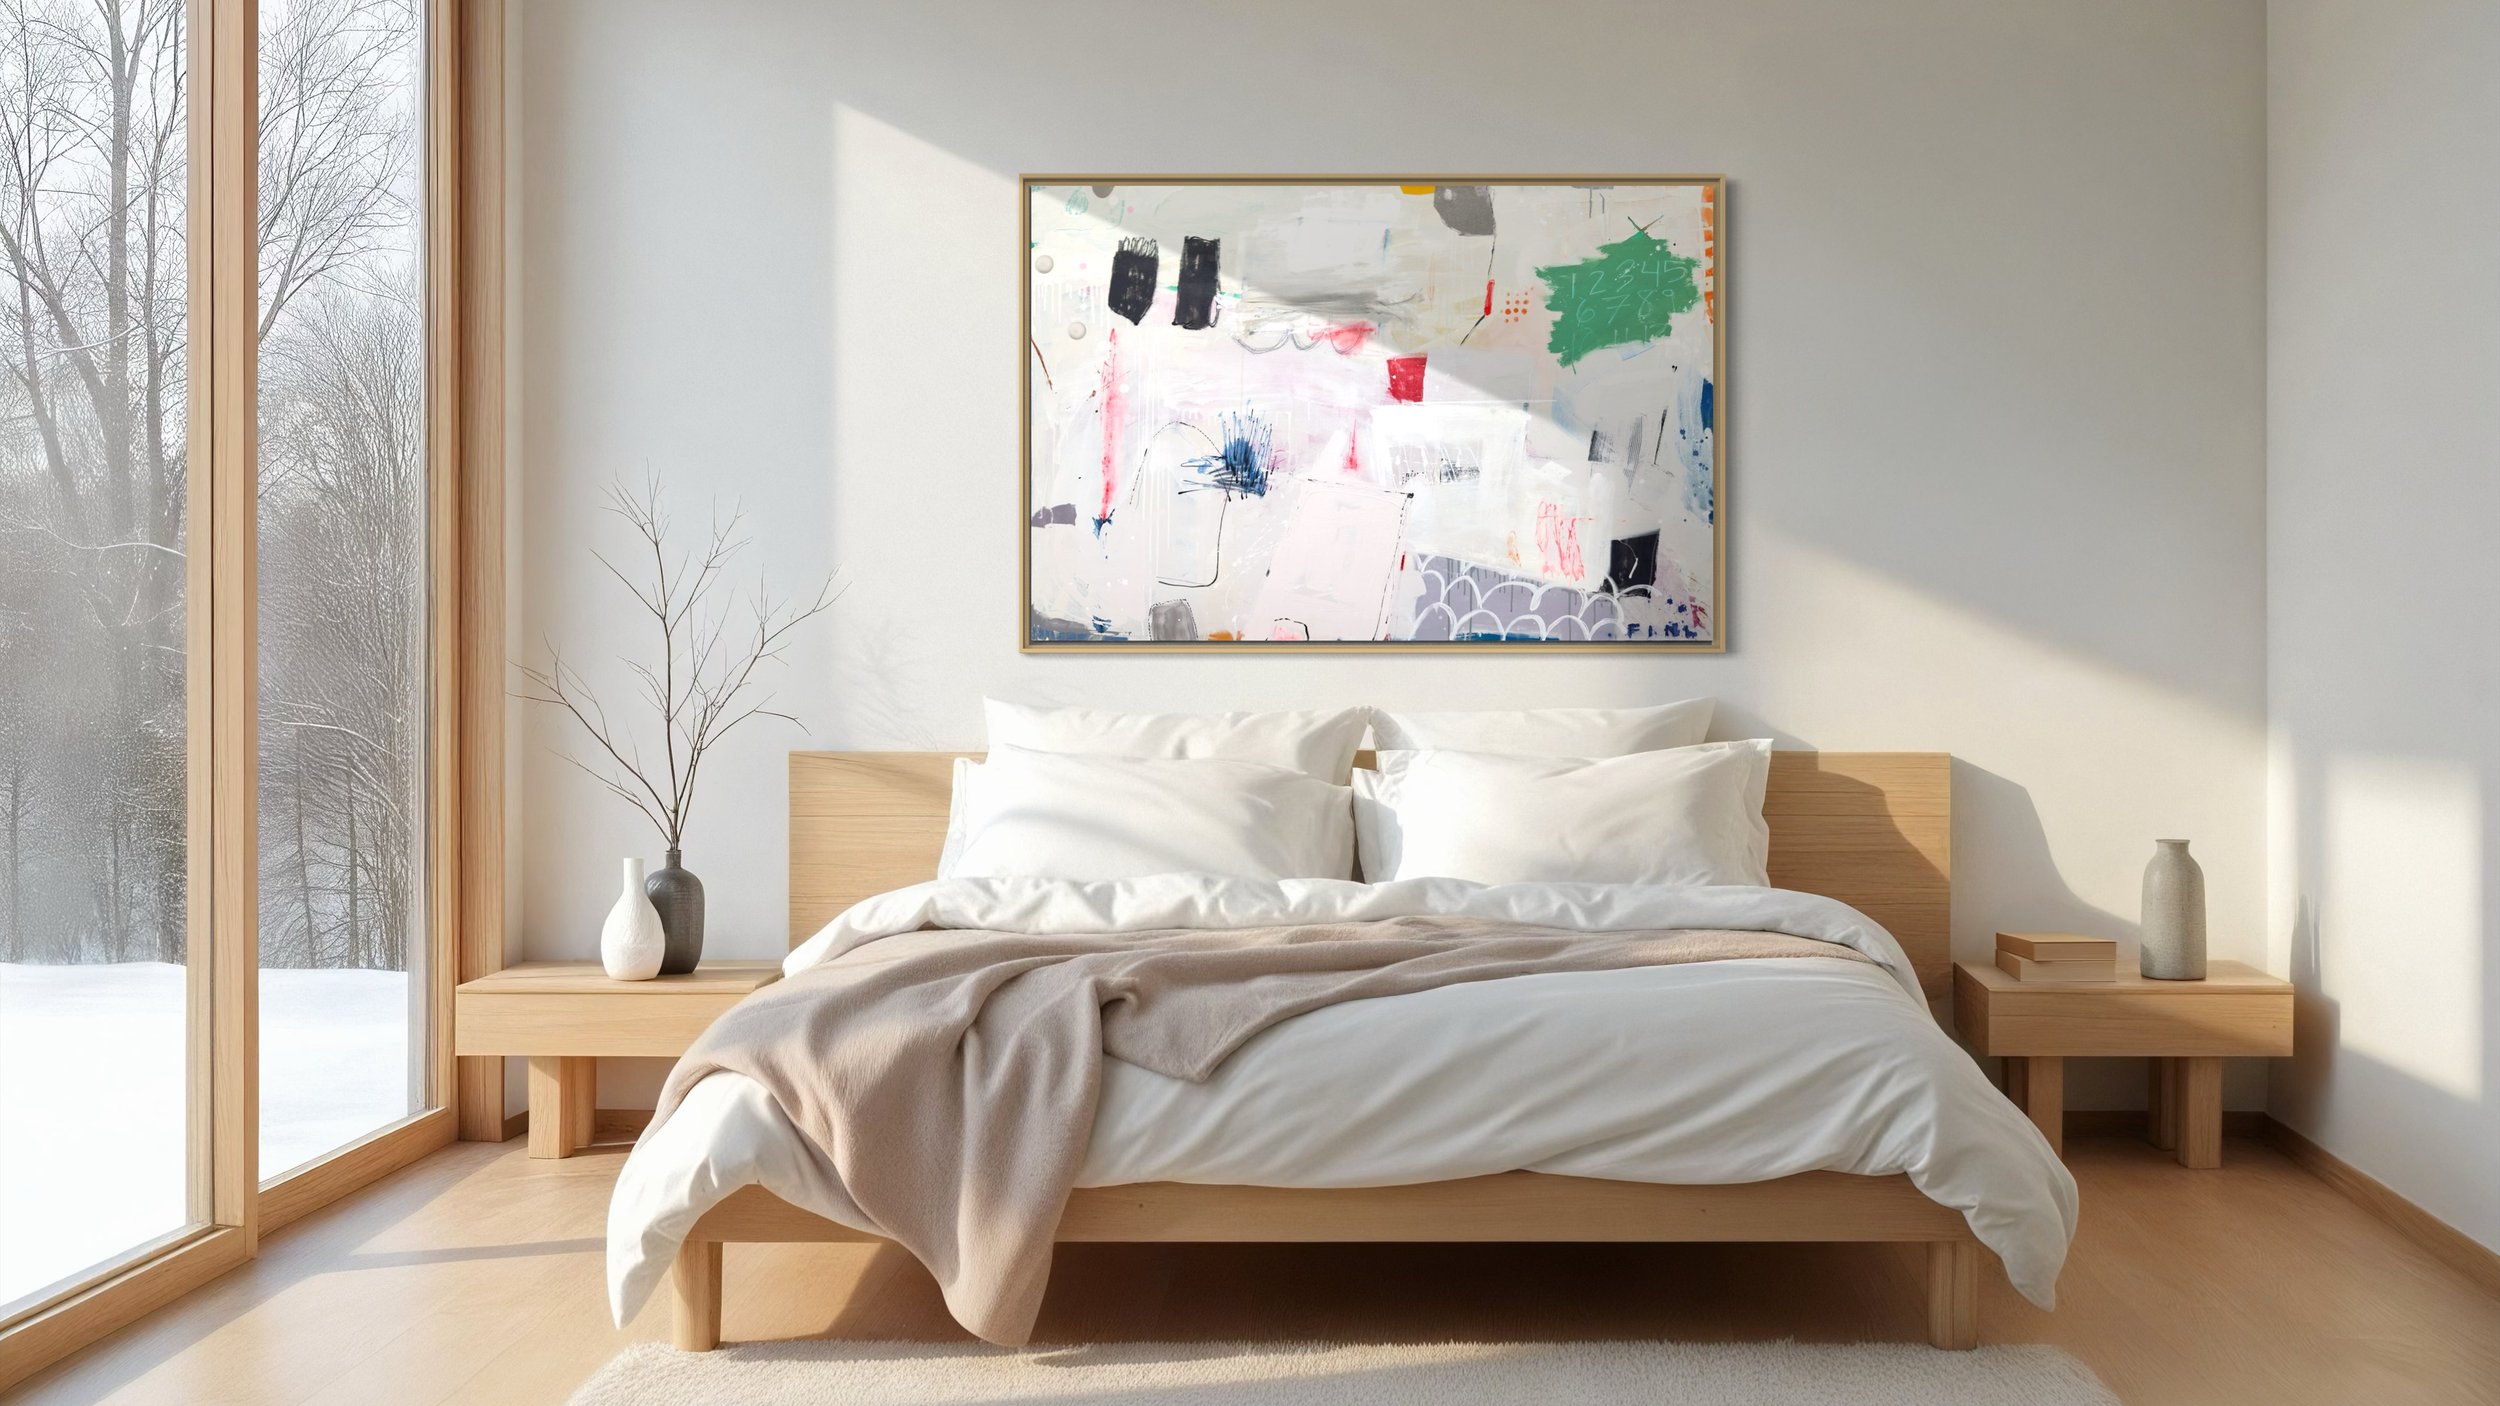
Above the Bed
Hang artwork above the bed to create a beautiful focal point. Choose pieces that match the bed’s size—larger ones make a bold statement, while smaller collections add character. The bottom of the artwork should be 6-12 inches above the headboard. A landscape format is ideal or you a diptych. For gallery walls, aim for 2-4 inches between frames for a cohesive look.
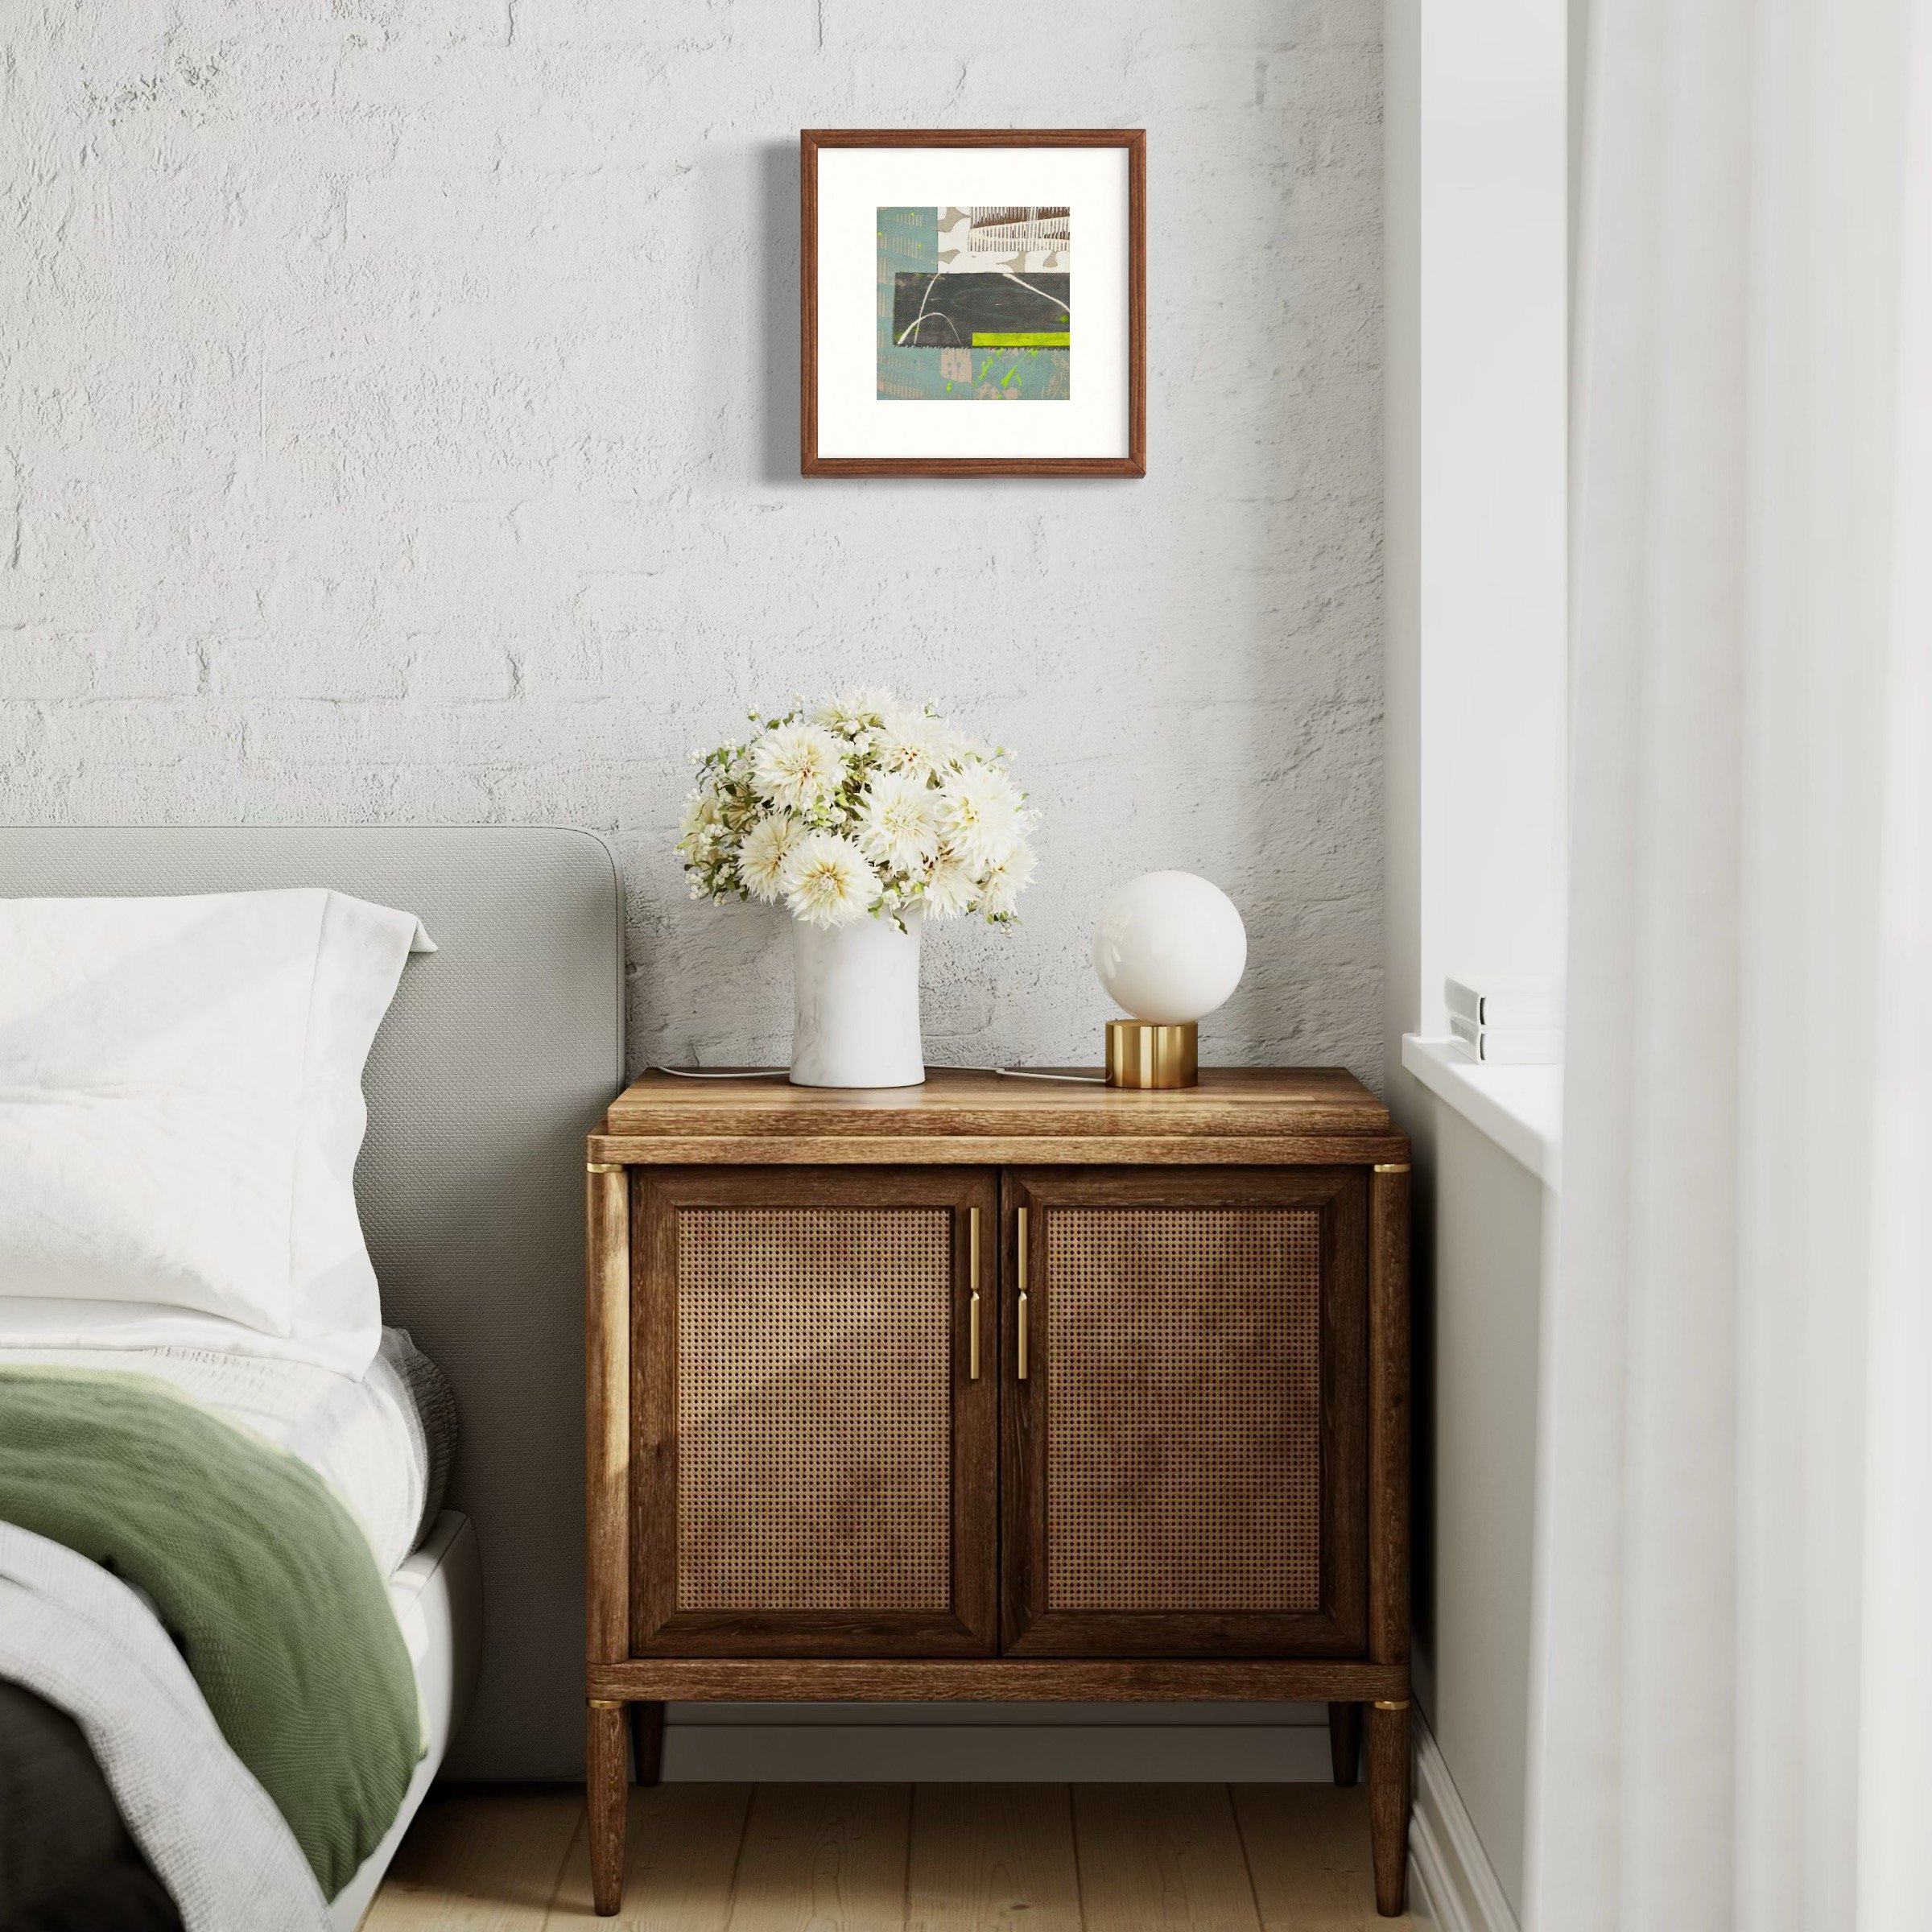
Over Bedside Tables
When hanging art over bedside tables, ensure it fits the tables’ height and width. Position the bottom of the art about 3-6 inches above the tables. For low tables, choose larger, vertical pieces to draw the eye upward, adding height to the space.
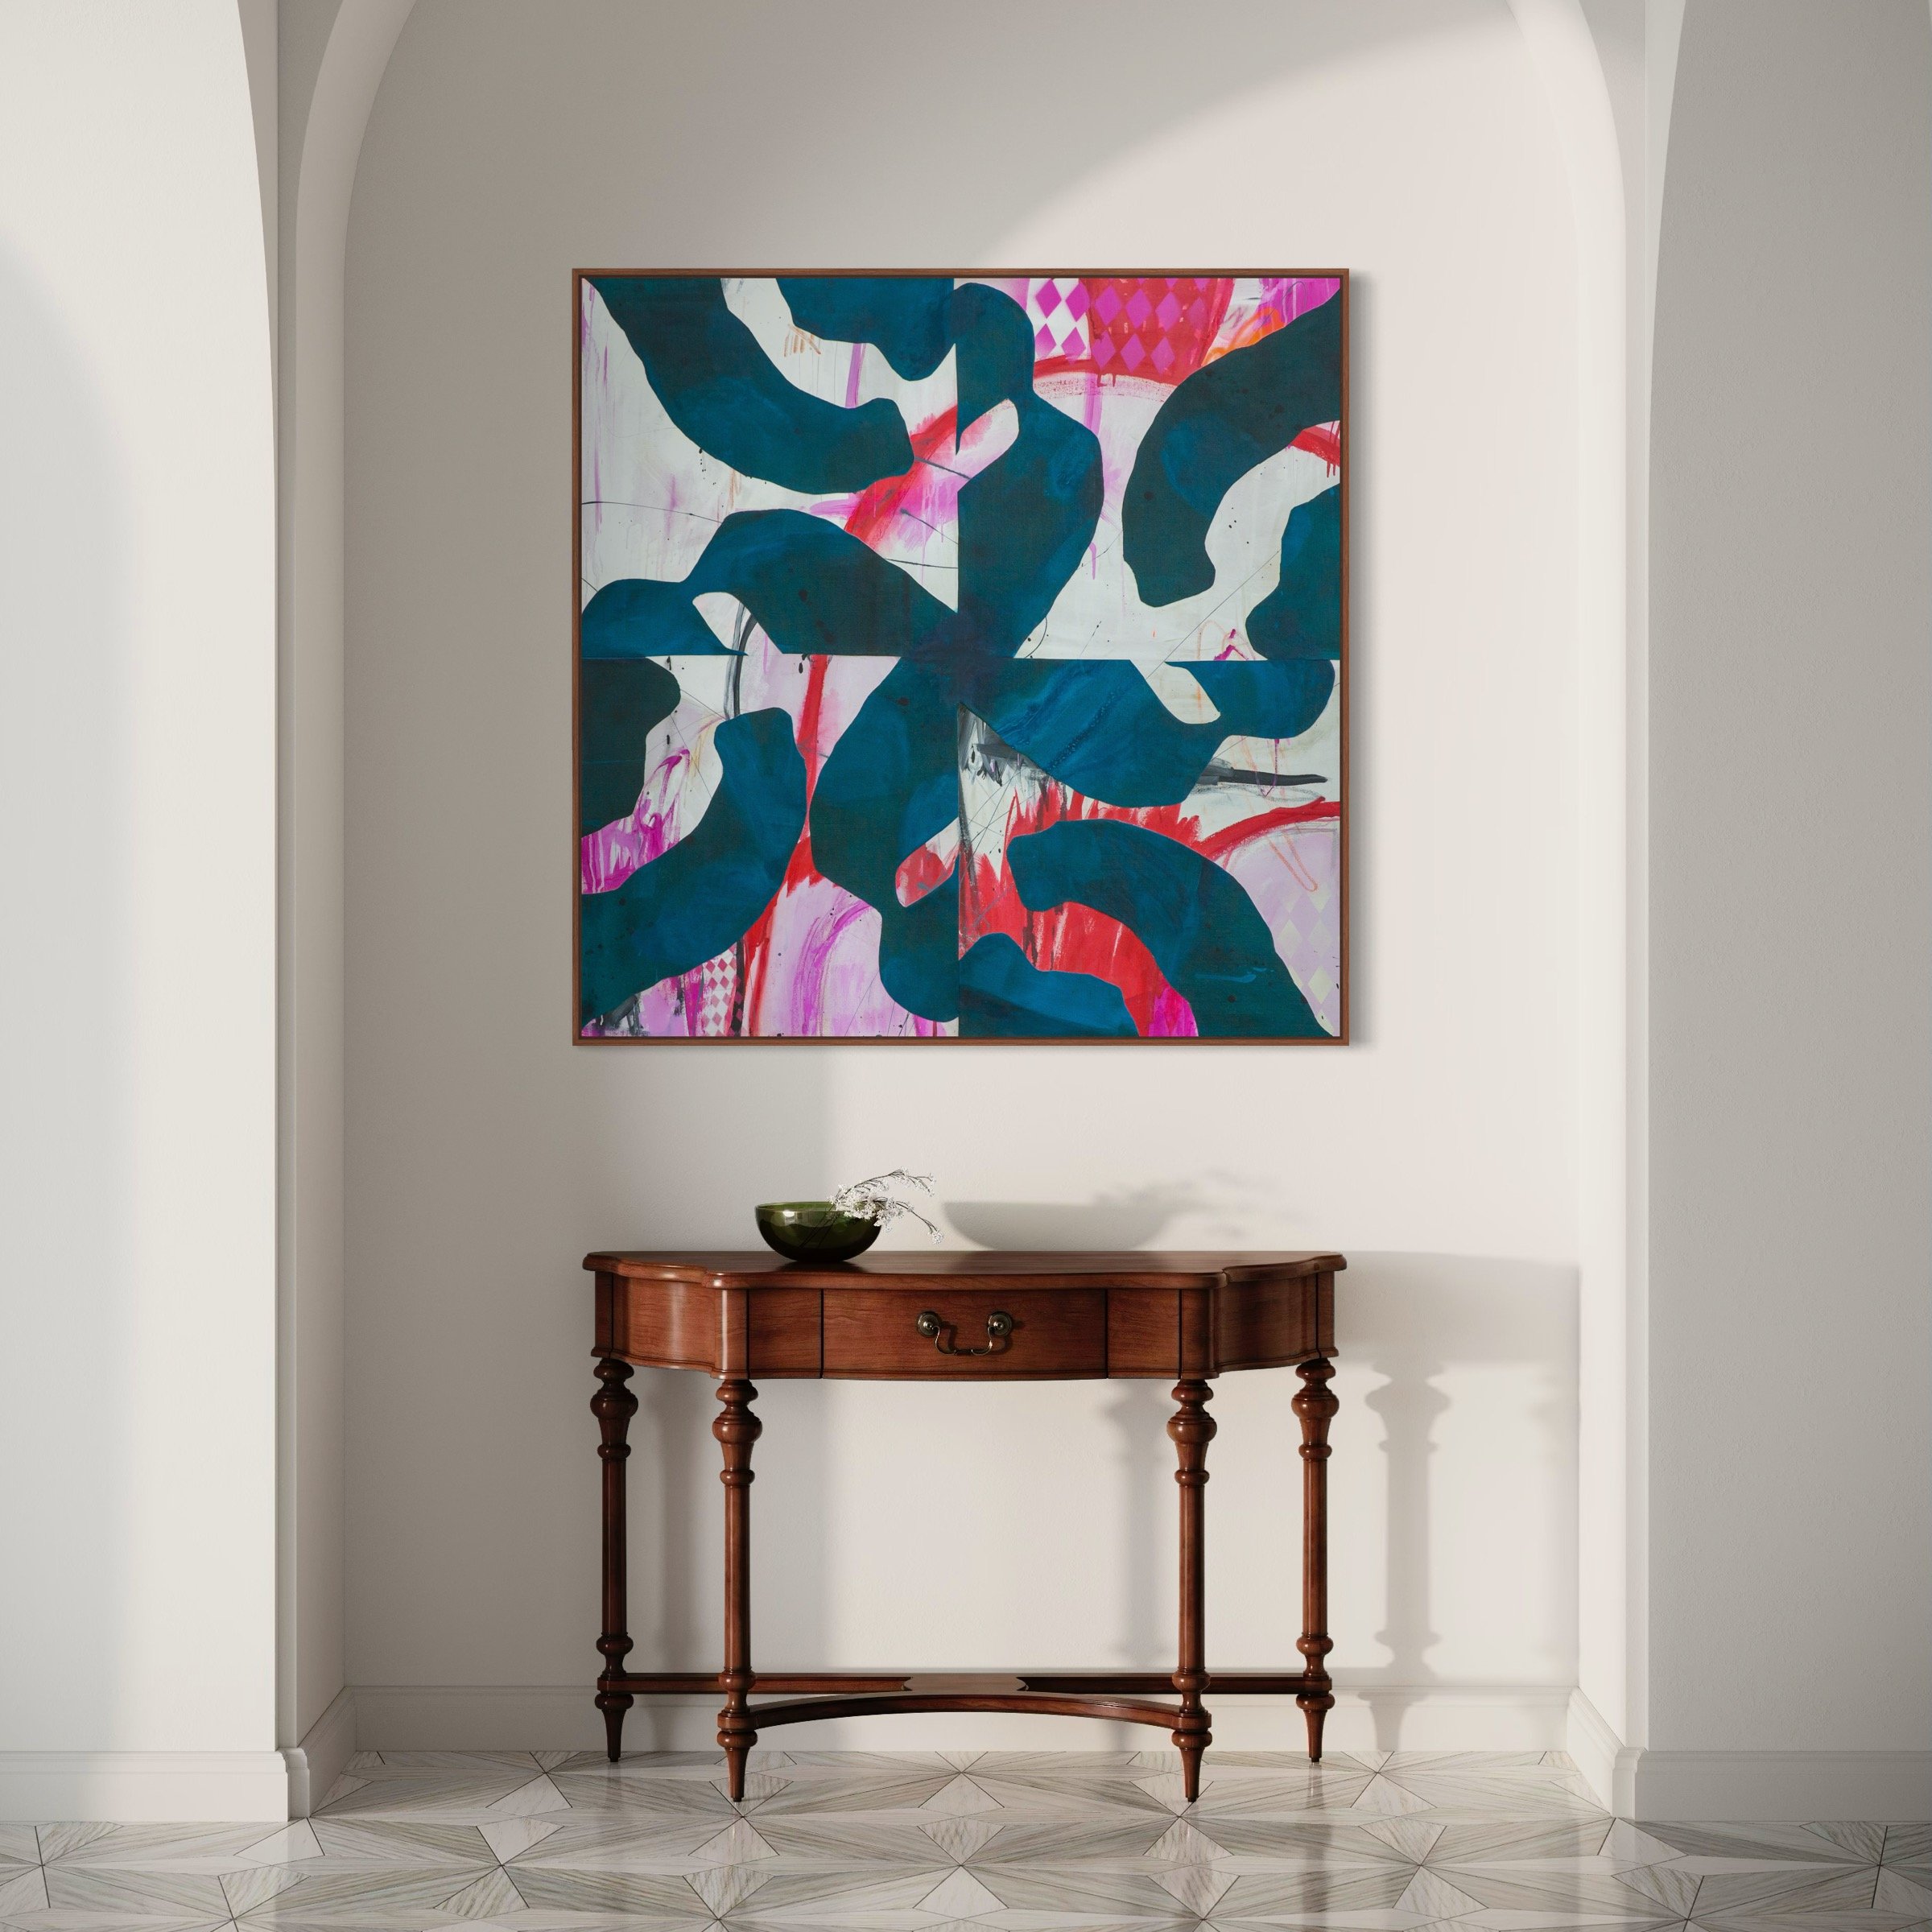
Above a Credenza
Art above a credenza should help tie the room together. Hang it so the center is at eye level—around 57-60 inches from the floor. A horizontal piece works well and fills the length of the credenza. If using multiple pieces, create a balanced gallery wall with about 6-8 inches of space above the furniture.
General Tips
Keep scale in mind: don’t let art get lost or overwhelm the area.
Use painter's tape to outline sizes on the wall before hanging.
Match colors and styles with surrounding decor to ensure harmony in the space.
Follow these tips to elevate your space and make your walls smile!